
Out of all the Potter paraphernalia out there, the Marauder’s Map is sure to top any Potter fan’s list of must-haves. Thanks to Britta at Britta Blvd, you can now make your own! Britta, who held Potter parties for each book release through 2007 (and often with 80+ people showing up!), decided to create a Marauder’s Map-inspired party invitation for her Year 6 party. She even created a freely available map you can download here! You’ll absolutely LOVE this DIY; we solemnly swear!
Step 1: Determine the size of your map. Remember, the larger the size of your paper, the more folds you’ll be able to have. That being said, keep in mind that the larger your map the more drawing you’ll need to do to cover the area. 8.5″ x 11″ should work just fine for at least two levels of unfolding before the entire map is revealed.
Step 2: On to the folding! Take a blank sheet of paper that is the size of your choice, and practice your fold. Britta referenced a screen-saver image to mimic the way the map was unfolded, but feel free to get creative! If you’d like to use the original method from the movie, just watch any unfolding scene from the movie repeatedly until you’ve perfected it. Britta’s folding technique (true to the movies) is featured below for easy duplication.
Step 3: Once you’ve got your fold down, grab a new sheet of paper, and get ready to begin your final version. You’ll want to fold prior to beginning your drawing so that you can make sure the designs match up, so make sure to do this first.
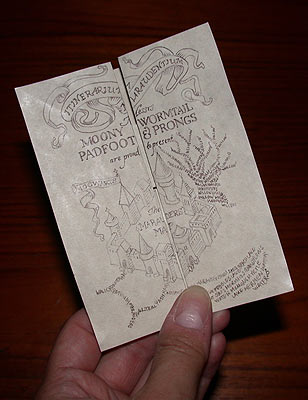
Step 4: Once you have your map folded and ready, begin drawing! Britta used a DVD insert to draw the cover of the map, but again, feel free to get creative and make the cover look however you’d like!
Step 5: Here comes the fun! You’re ready to start detailing the inside. You’re going to want to make sure the inner pieces align for lettering. Britta notes that all printers generally truncate about 1/4″ from the paper edge, so she unfolded her map and sketched the border (very lightly) to make sure her designs didn’t go all the way to the edge.
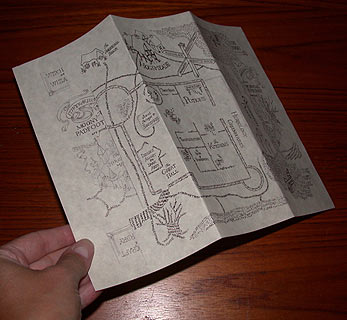
Feel free to design the map however you’d like! Don’t feel as though you have to make an exact copy of the movie-map. Britta used the floor plan of her own house to design hers! When designing, just be sure to use a very sharpened pencil so that your designs are as dark as possible. We want them to be able to show up on the computer via scanner.
Step 6: Once your design is complete, use a scanner to get your map into Photoshop or another editing software. Britta decided to use parchment paper for her final copy, and was able to do some test printing to get the size and print area just right by using Photoshop. She tinted the paper rust to help the map look more true to the movie.
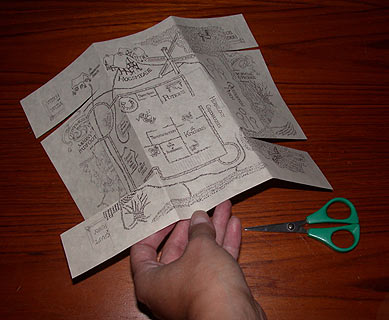
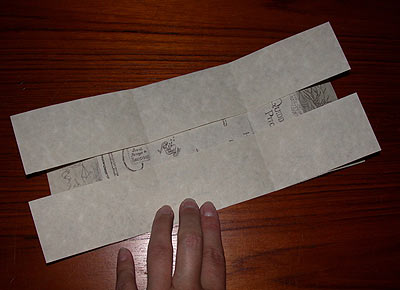
Step 7: Print your map out. Fold your map into thirds by making gentle mountain folds – do not crease!
Step 8: Find the faint lengthwise lines that mark the outline of the front cover image and cut only to where you just folded. You will notice that on this cut line, the design doesn’t match anywhere until after it is folded into the final pattern.
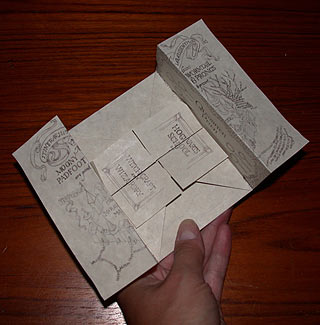
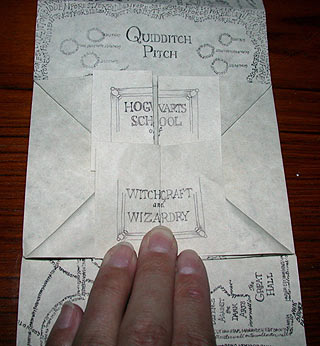
Step 9: Find the faint lines that mark the inner edges of where the front covers meet in the middle. You will see that the design changes at the same line. Make mountain folds on those lines.
Step 10: Bring the last two mountain folds together to meet in the middle. Carefully adjust the middle until the design meets, then press down to finger-crease the outer edge folds. Don’t worry about a crisp crease yet since you still might have a final adjustment at the end.
Step 11: Turn over, and you’ll see your top flap edges hang over the folds from the back view.
Step 12: You can either trim the front cover flaps now or wait until after the final folding.
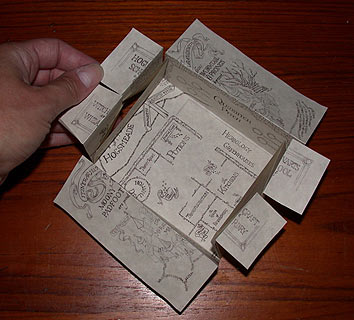
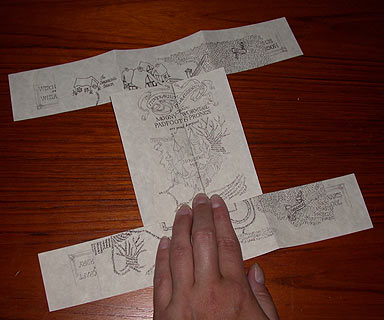
Step 13: Turn back over so that you see the drawing again. Unfold the front cover you just folded so that it is out of the way. Use the cross-marks where the inner ends of the cuts are to fold the top and bottom strips across in valley folds as shown. Your original gentle mountain folds should meet up with the side folds of the front cover. Adjust a little if necessary since sometimes the cuts can end in slightly different places.
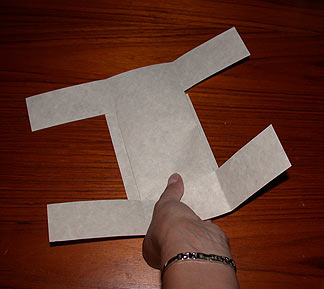
Step 14: If you stayed true to the movie map cover, find the faint lines and design edges for the Hogwarts School of Witchcraft and Wizardry lettering on the edges of the horizontal flaps. Mountain fold all four ends as shown.

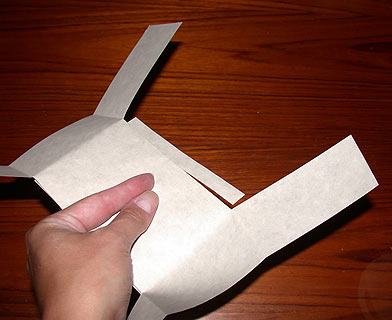
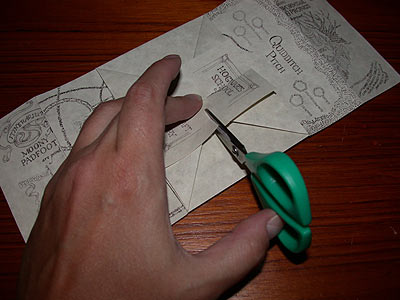
Step 15: This step is a bit tricky. Take the pair of end flaps from one side that match together (i.e., “Hogwarts School”). Pull the flaps around so that the folded edges meet and the lettering matches up, then gently smash down so that you end up with the angled folds, taking care that you don’t stress the corners so much that they rip. This will require some adjusting of the angles and the edge where the front cover will fold over this section. Your priority is that the lettering matches up with the front cover still able to fold over everything since you can trim the other edges for a clean look. Repeat this with the other side lettering so that all your lettering meets in the middle now.
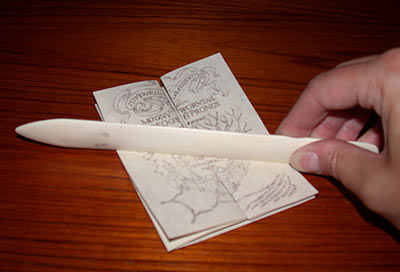
Step 16: Due to the paper printable area, you have overlap at the middle, so make a cut through all of the flaps as shown to trim the overlap, but be careful to NOT cut through too many layers. You do want to cut through the angled folds, but you want to be careful not to go through the other side, so it’s easiest to cut from the outside in for each side. Depending on your cuts, you might want to open the map back up and trim all the way across to have a clean final exterior edge when unfolded. Using a folding bone on the school lettering layer before folding the whole map will help it stay flat.
Step 17: Carefully fold everything together, making sure that you haven’t caught anything misfolded inside. Holding the front cover together to be sure the design meets properly, use a folding bone to make crisp folds and help keep the map flat.
For more DIYs, check out our Potter DIY page!